
What the page teaches
The core skill of the lesson: add audio nodes in Spaces and link sound to a visual workflow. It helps the user move from getting to know the interface to a repeatable working process.
Academy
Adding audio nodes to a workflow is a Keter Labs learning page about how to add audio nodes in Spaces and link sound to a visual workflow. The lesson is structured as a practical scenario: prepare your materials, complete the steps in the interface, check the result and understand where to go next.

What's included

The page guides the user through a real task: add audio nodes in Spaces and link sound to a visual workflow. The focus is not terminology but a sequence of actions you can repeat in your own project.

Before starting, prepare the text or audio task, duration, mood, video format and where audio fits in the process. This way the lesson produces a predictable result instead of turning into a set of random experiments.
At the end, evaluate correct connections, clean audio, sync, saved versions and a clear path for further editing. These signs show that the skill can be transferred to your team's real work.
When to use it
These examples make it easier to choose where to start and which nearby section to open next.
The lesson is a good fit when you need to add audio nodes in Spaces and link sound to a visual workflow and immediately see how it works in practice.
The page can be used as internal training material: it establishes a shared vocabulary, an order of steps and criteria for a finished result.
Return to the lesson before a real task to quickly check your preparation and result: correct connections, clean audio, sync, saved versions and a clear path for further editing.
Details
The core skill of the lesson: add audio nodes in Spaces and link sound to a visual workflow. It helps the user move from getting to know the interface to a repeatable working process.
Work with a simple example, prepare the text or audio task, duration, mood, video format and where audio fits in the process, then repeat the actions in the interface and save the final version of the project.
After the lesson, open related Academy materials, the Spaces documentation and the platform's actual tools to reinforce the skill on your own tasks.
Workflow
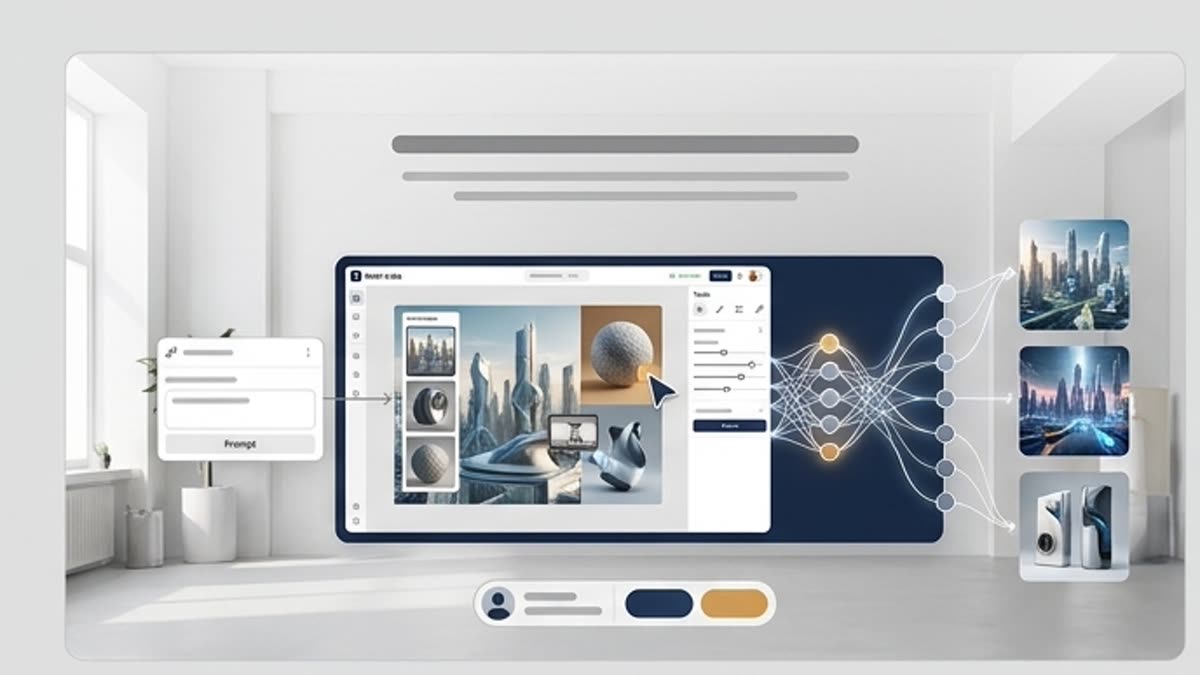
Every section in Keter Labs follows the same shape: a clear brief, a fast first draft, refinement in the editor, and a result saved into the project.
State the goal of the lesson: add audio nodes in Spaces and link sound to a visual workflow. Choose a simple example that lets you go through the process end to end.
Prepare the text or audio task, duration, mood, video format and where audio fits in the process. If a team is taking the lesson, agree on roles and a shared workspace in advance.
Repeat the steps in Keter Labs, save intermediate versions and record the settings that affect the result.
Check correct connections, clean audio, sync, saved versions and a clear path for further editing; after that, apply the skill in a real project or move on to the next lesson in the course.
Related sections
Hands-on guides, courses and short lessons that help you master generation, the editor, prompting and team workflows faster.
Open
Structured programs for teams that want a clear, repeatable process for producing AI-powered content in Keter Labs.
Open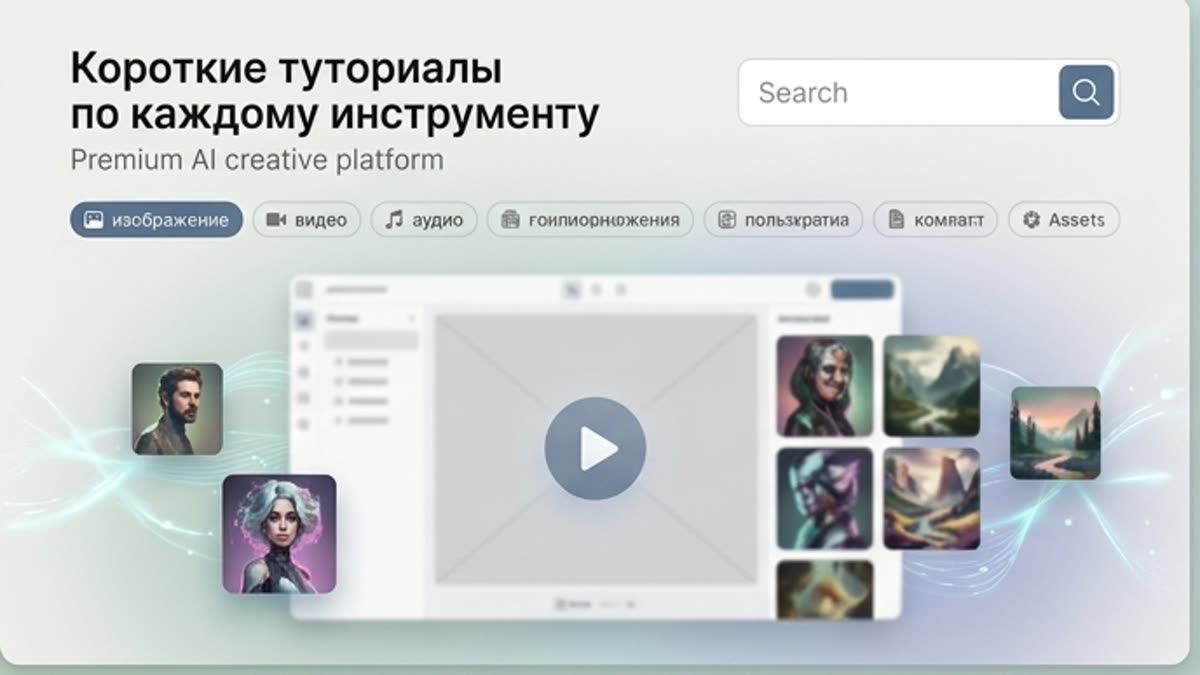
Quick how-tos for specific actions: generation, upscaling, background swaps, video work, template editing and export.
Open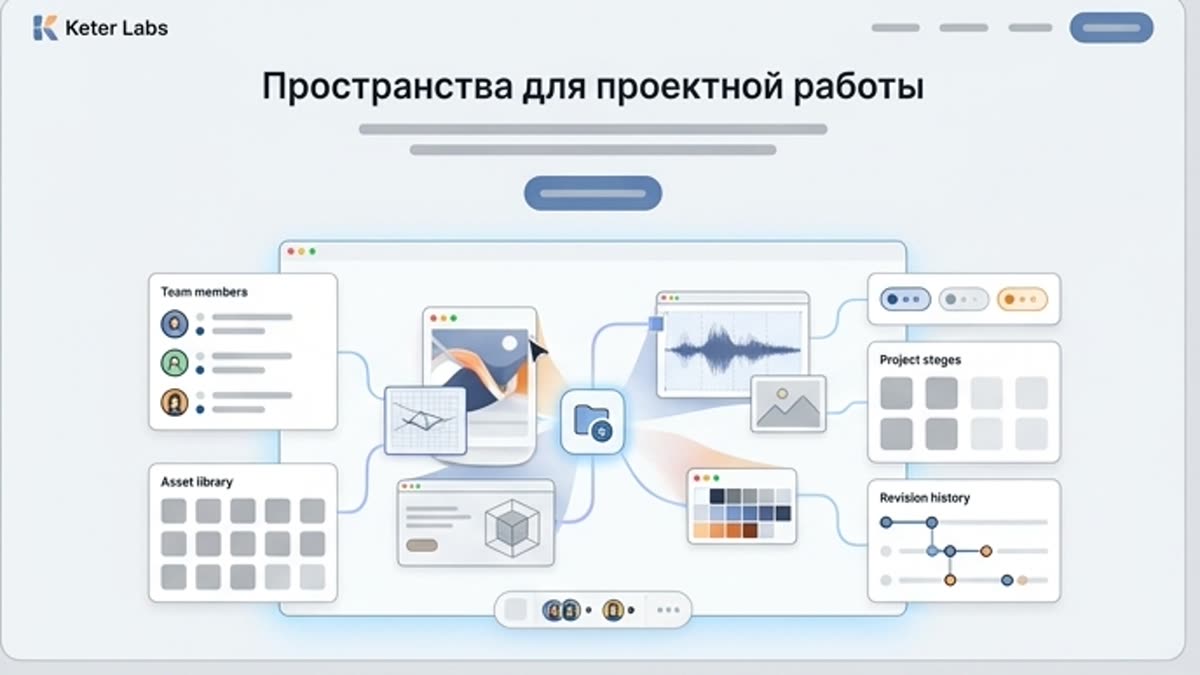
Organize projects, assets, generations, brand materials and team processes inside dedicated, shareable spaces.
OpenReady when you are
Spin up assets, lock in versions and align your team around a single creative platform.
Create account